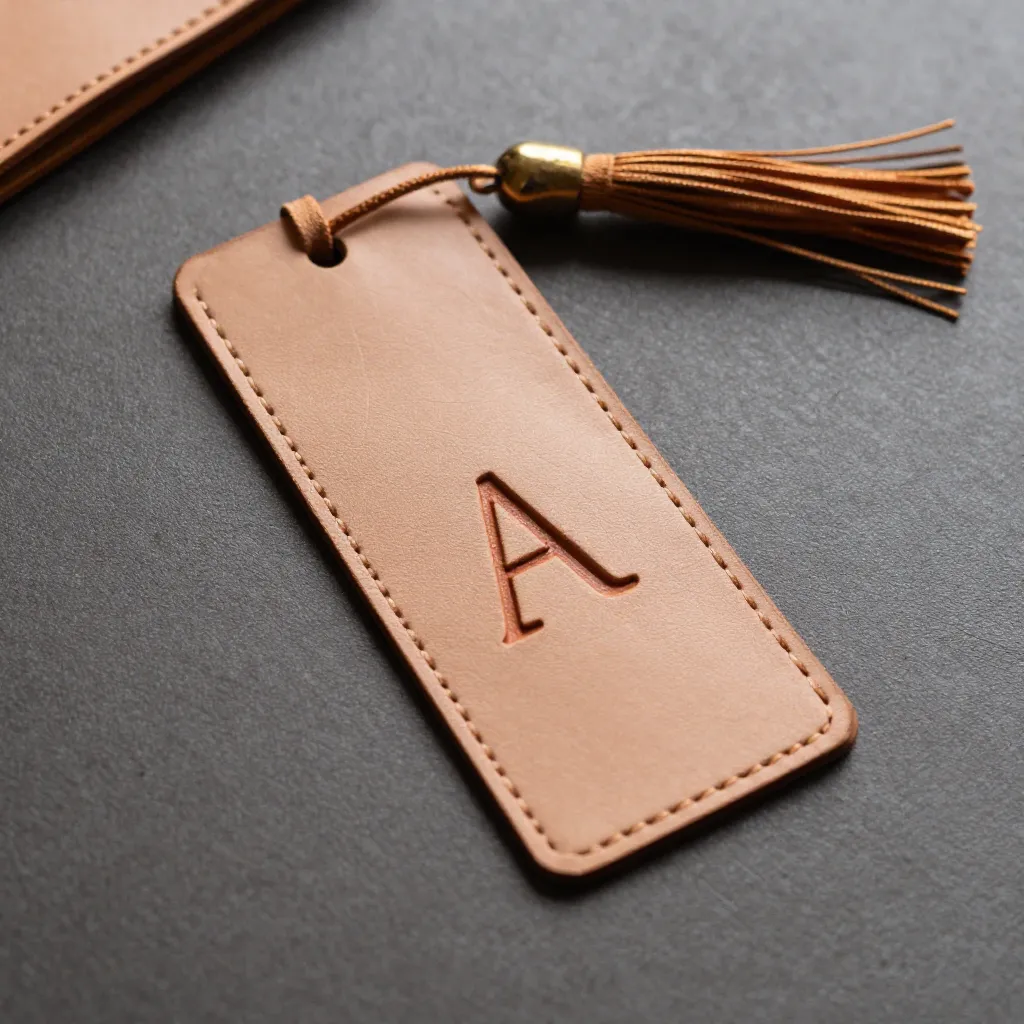
Pattern Precision
Every accessory begins with carefully drafted patterns. Each component is designed to work together, creating a structure that is both functional and visually balanced.
Exploded View
Main Body
Primary structural component
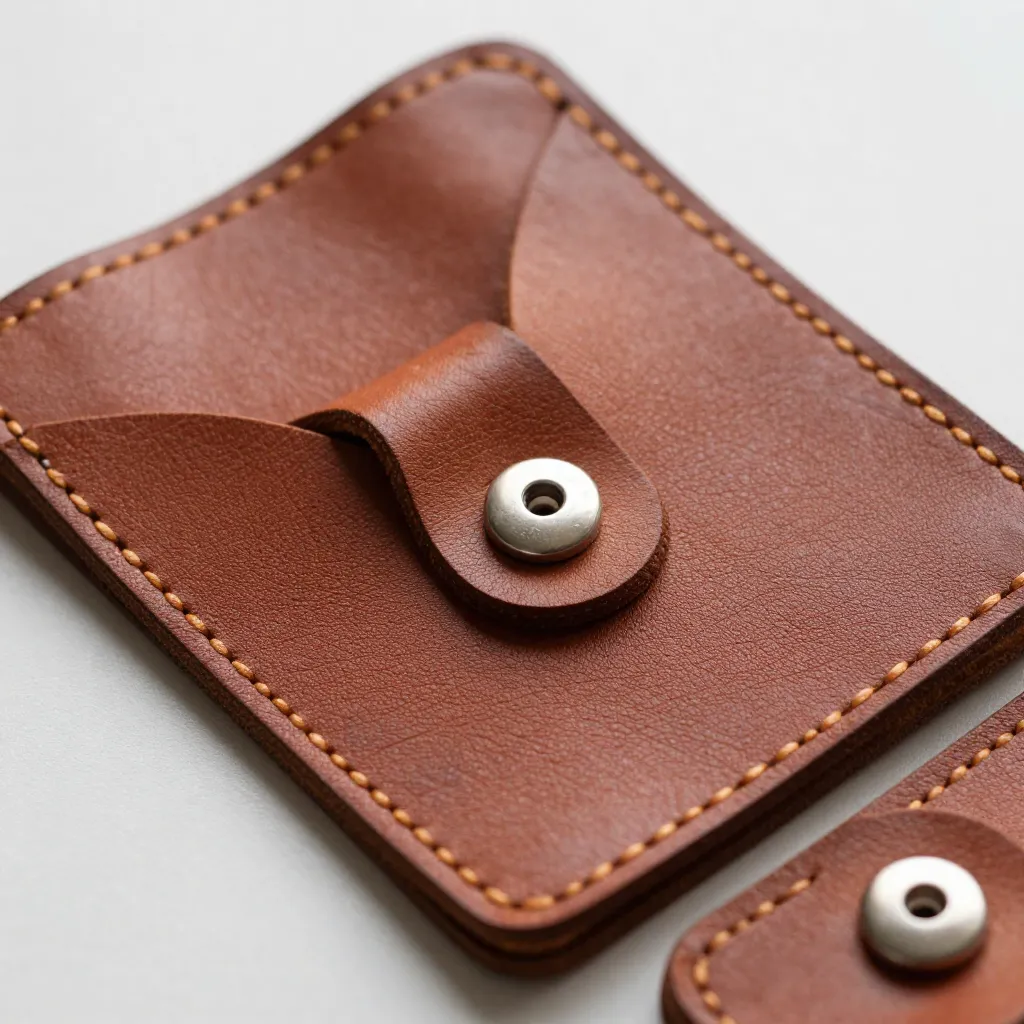
Lining
Interior surface layer
Reinforcement
Strength and structure
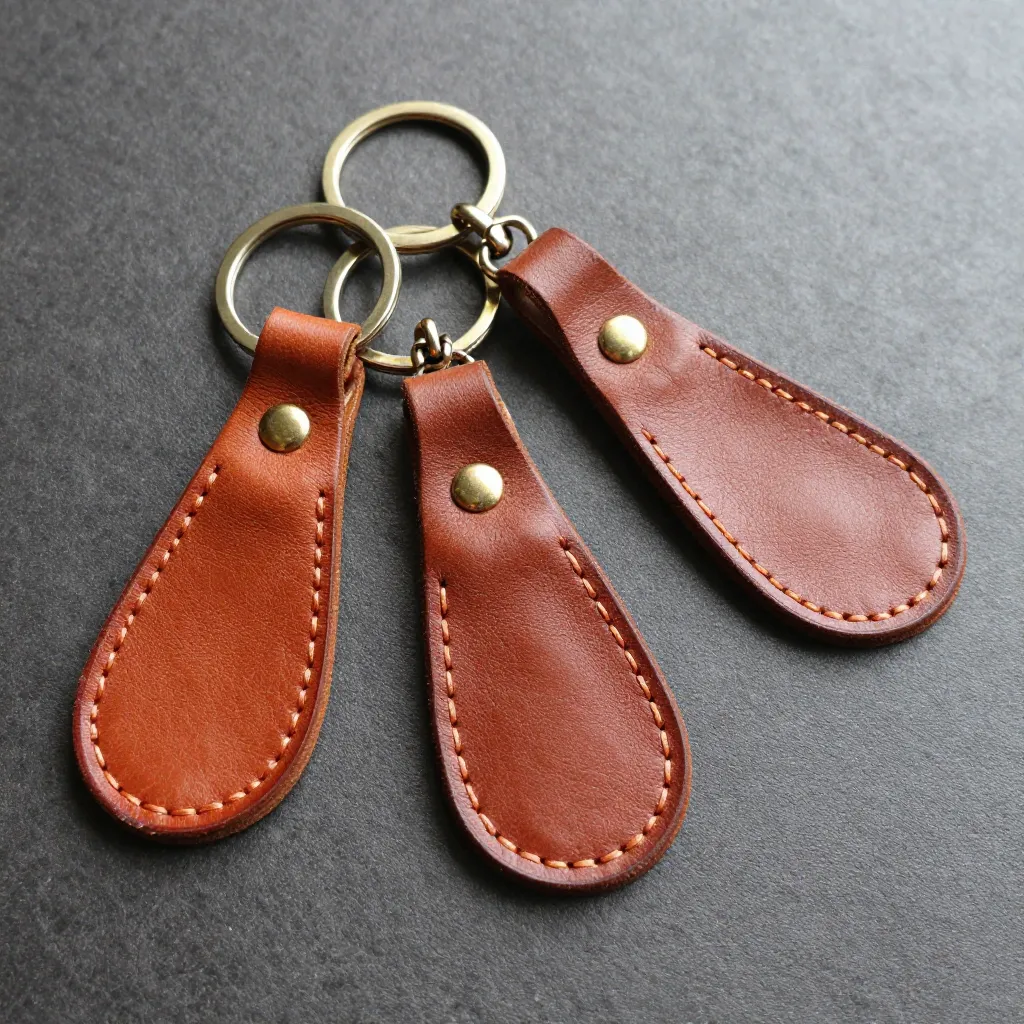
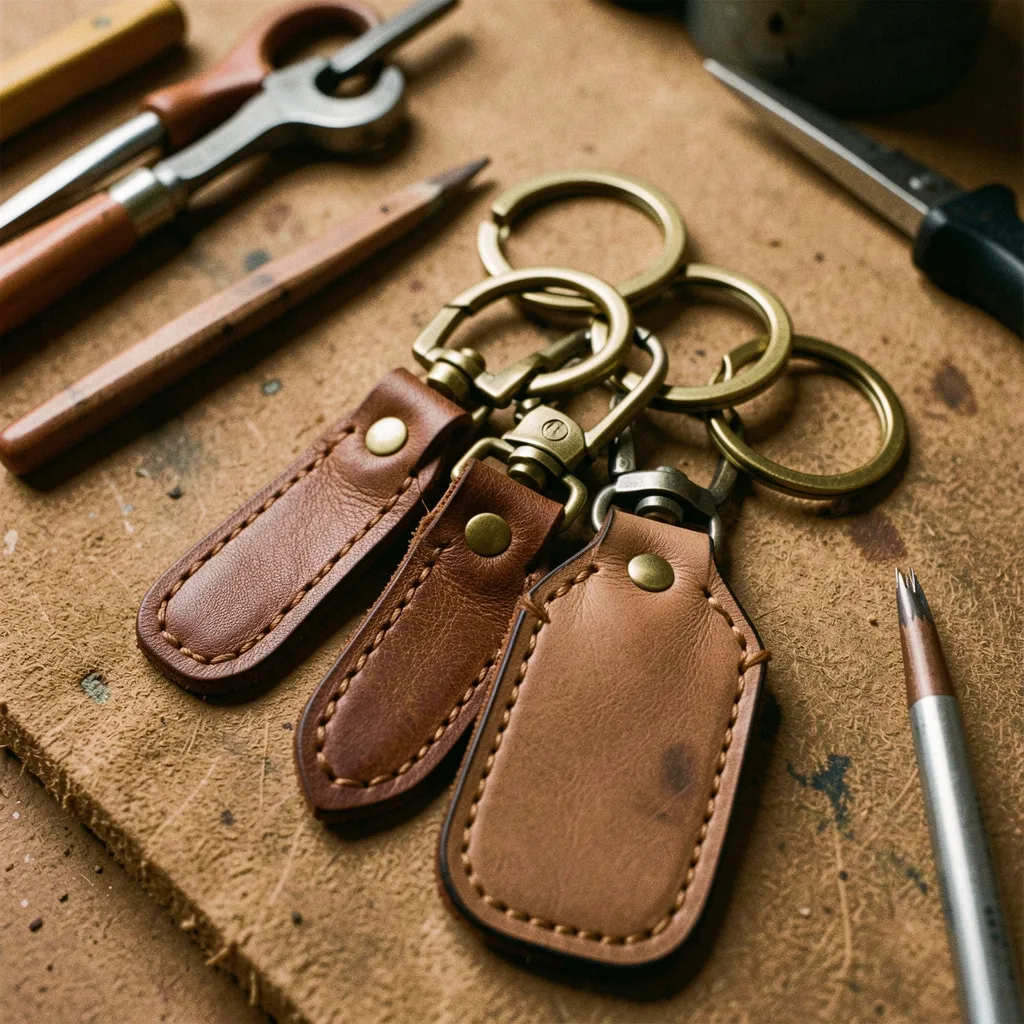
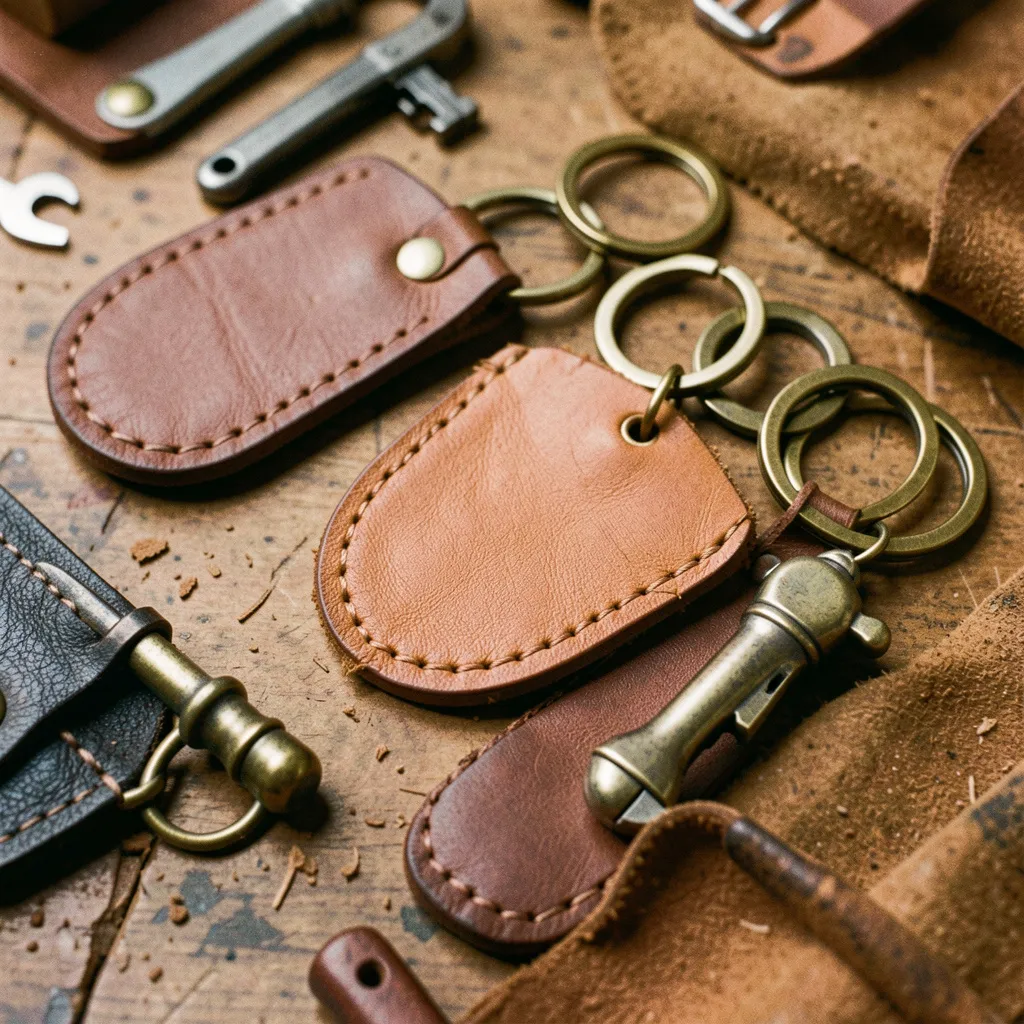
Hardware
Functional attachments
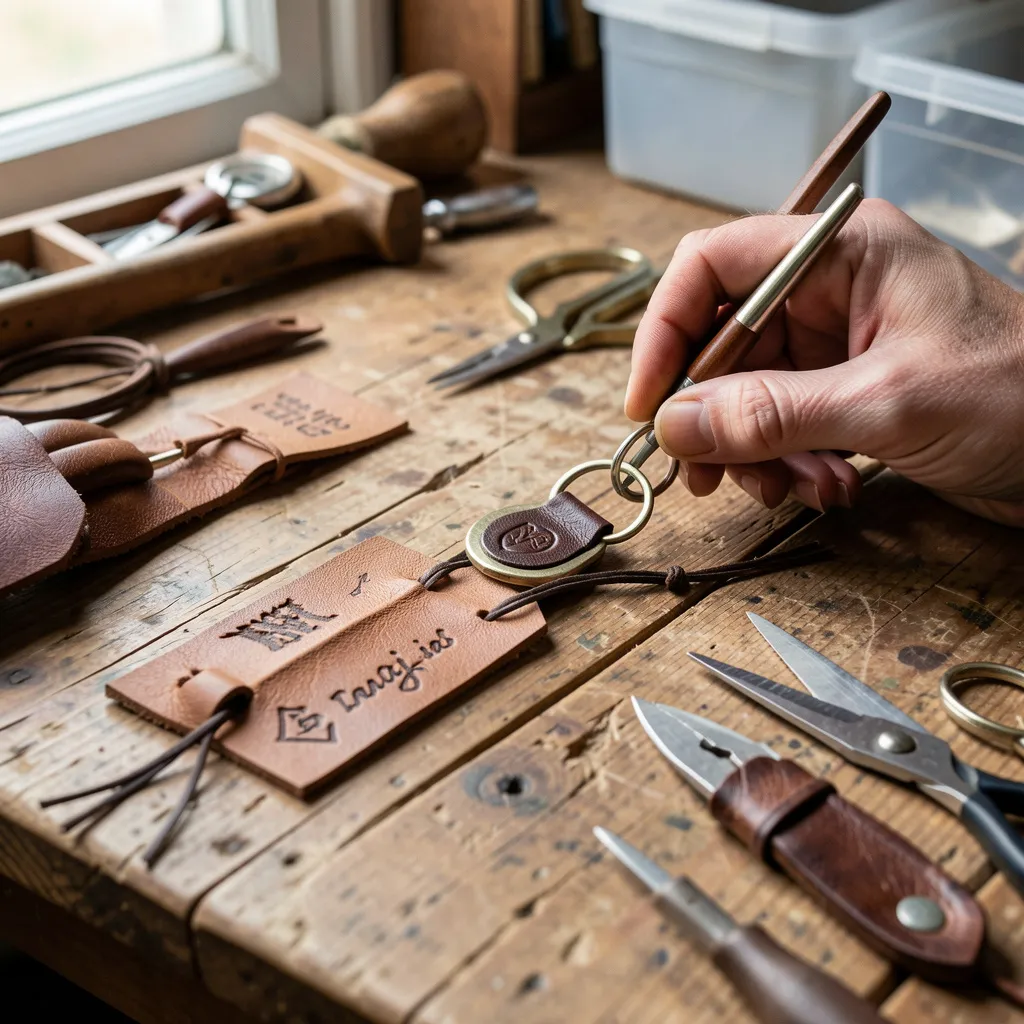
Construction Process
Pattern Transfer
Patterns are transferred to leather using precise marking tools, ensuring accurate dimensions and alignment.
Cutting
Sharp blades and cutting tools create clean edges. Consistency in cutting ensures pieces fit together properly.
Hole Punching
Stitching holes are marked and punched at consistent intervals, maintaining even spacing for uniform appearance.
Assembly
Components are aligned and temporarily secured before final stitching, allowing for adjustments if needed.
Stitching Technique
Saddle Stitching
Saddle stitching creates seams that are stronger than machine stitching. Each stitch is independent, so if one breaks, the others remain intact.
The technique involves passing two needles through the same hole from opposite sides, creating a lock stitch that cannot unravel. This method requires skill and patience but results in durable, attractive seams.
Stitch Spacing
Consistent stitch spacing is crucial for both appearance and strength. Typically, stitches are placed 3-4mm apart, depending on the project's requirements and leather thickness.
Edge Finishing
Burnishing Process
Edge burnishing smooths and seals the cut edges of leather, creating a polished appearance and preventing fraying. The process involves applying water or edge finish and rubbing with a smooth tool.
This creates friction that compresses the leather fibers, resulting in a smooth, rounded edge. The technique requires practice to achieve consistent results across all edges.
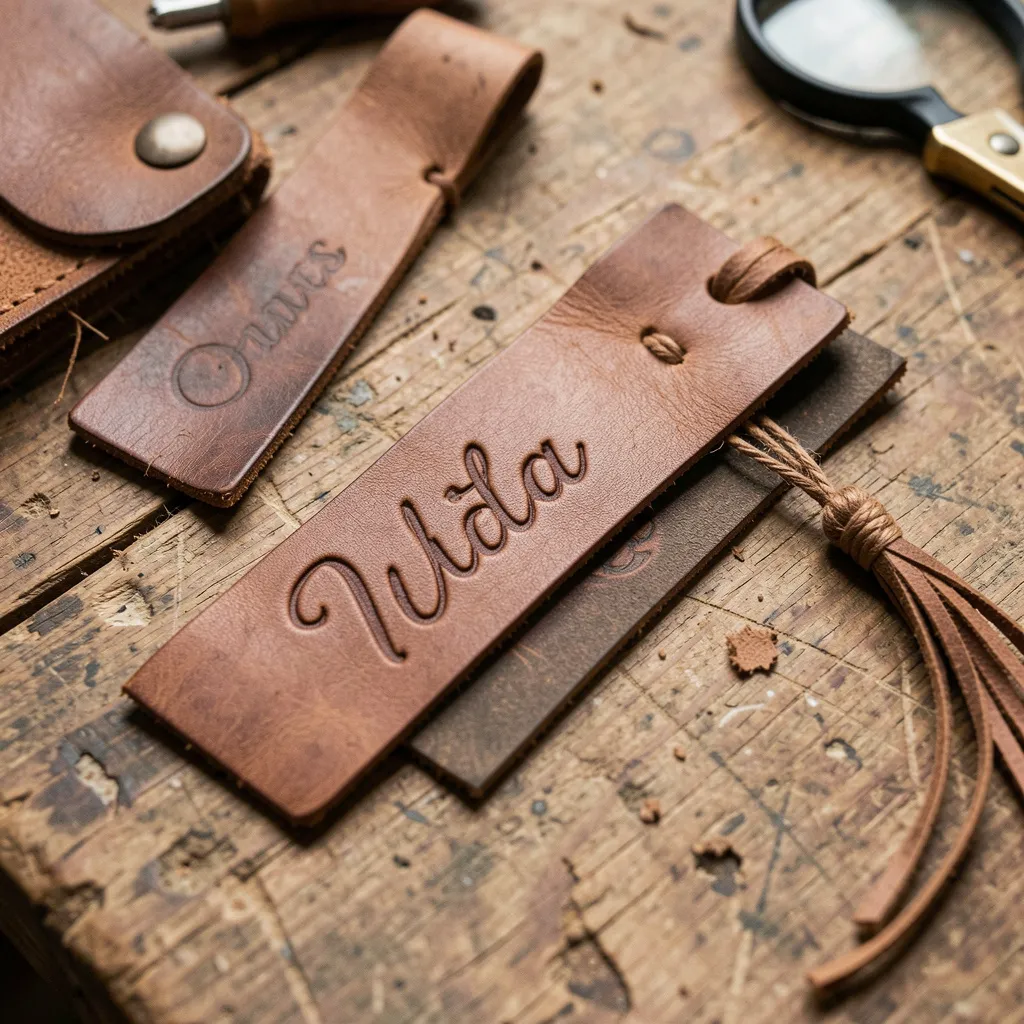
Edge Dyeing
Optional edge dyeing can match or contrast with the main leather color, adding visual detail to the finished piece. This step is performed after burnishing for best results.